How To Winterize Your Outdoor Kitchen
Do you have an outdoor kitchen? If you’re asking yourself:
- How far into Winter can I go before I prep it for the cold weather?
- What should I do when the temp drops below freezing?
- What risks do I run by not winterizing?
Then this article will answer all your questions!
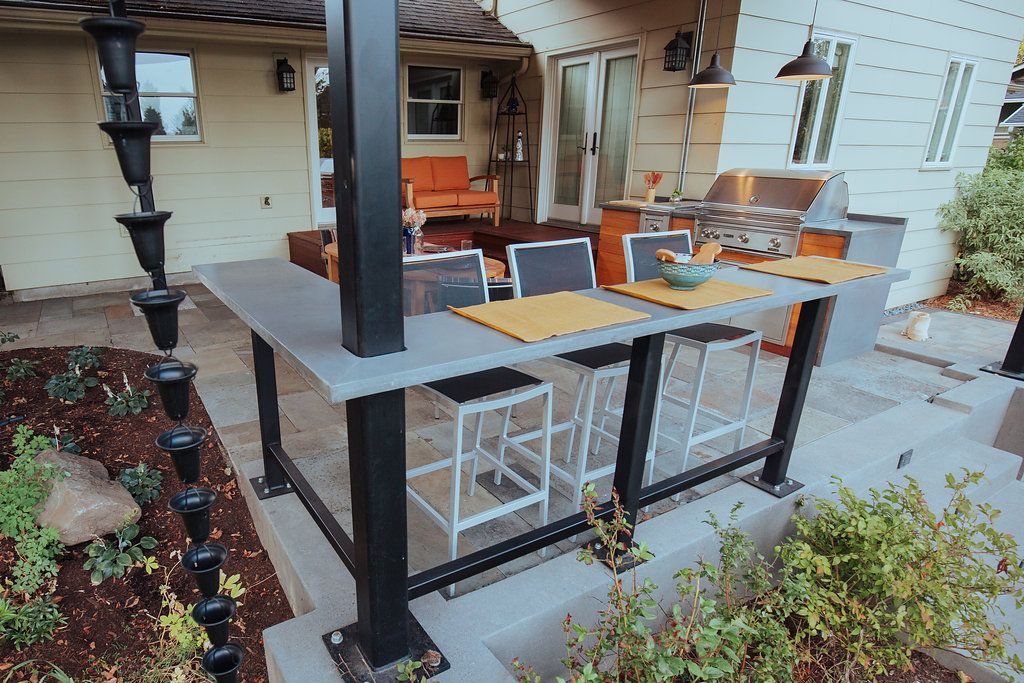
Having an outdoor kitchen is a real treat, but an outdoor kitchen isn’t mobile like that old propane grill you used to use. You can’t just pack it up and move it into the garage when the rain and snow arrive. A well-made outdoor kitchen by Tellurian Construction is built to handle the elements. However, you’ll still want to follow several necessary steps to winterize your outdoor kitchen.
When Do You Have to Winterize Your Outdoor Kitchen
If you want to use your outdoor kitchen all year round, you’ll want to protect your investment by ensuring that your outdoor kitchen and appliances are prepared before we start to see freezing temps. And then re-winterize everything between uses. One benefit of winterizing is you ensure your kitchen is primed for some Spring BBQs!
Step 1: Shut off and drain water lines
The point of plumbing is to keep water contained, when water breaks out, you’ll be breaking out your wallet. All the outdoor amenities, like the sink and dishwasher, will need to have their water lines shut off and any excess water drained out of the lines. Many people forget to drain the pipes. When the water freezes, it expands and cracks the lines… unbeknownst to you. Then when you go to turn everything back on in the Spring, it’s like you’ve released the Kraken! Don’t be that guy, drain your lines.
Step 2: Clean and polish the grills and any other appliances
A greasy grill with leftover bits of food will cause mold growth and attract critters. There are several great grease removers on the market, and nothing beats a little old-fashioned elbow grease. Next, you’ll want to turn off your gas line, not that we’re too worried it will freeze and crack, but better safe than sorry.
Step 3: Check your fridge and cupboards
Any food or drinks leftover in your fridge or freezer should be moved indoors, especially perishable items. Once you’ve cleared everything out, it’s time to clean everything out. Finish by unplugging your fridge and freezer. This is also an excellent time to give your sink a good scrubbing and a polish as well.
Step 4. Store Your Outdoor Furniture
If it can be moved, it’s probably best you pack it up. Grab those pool noodles, lawn chairs, and end tables. The less time those items spend in the cold, getting wet and potentially freezing, the longer they’ll last! Your outdoor kitchen is an investment in good times and doing the little things each Winter will keep the good times rolling for years to come.
Step 5. Prep Your Fire pit!
Finally, a step where we’re not cleaning, emptying, or breaking anything down. Fall and Winter are the perfect time to warm yourself around the fire pit, socialize with friends and family and drink in the stars.
If you have any questions or want assistance winterizing your outdoor kitchen, give us a call! Tellurian Construction is Southern Oregon’s outdoor kitchen building team. And if you stumbled upon this blog and are interested in an outdoor kitchen of your own, we’d love to chat about that!


